


Written by Brooke Giles, Rollercam Social Media and Trips Manager
A simple two-day loop that blends gravel miles with Class III water

The Plan
- Start at Deschutes River State Recreation Area
- Ride ~10 miles upstream on the river trail
- Camp at Fall Canyon
- Paddle back to the takeout the next morning
Two days. Minimal logistics. Solid mix of riding and whitewater.

Day 1 — Pedal In
Morning was slow with a little coffee, sorting gear, figuring out who’s carrying what.
This trip pulls from three different systems:
- Bikepacking
- Packrafting
- Overnight camping
So packing isn’t just about weight, it’s about placement and balance.
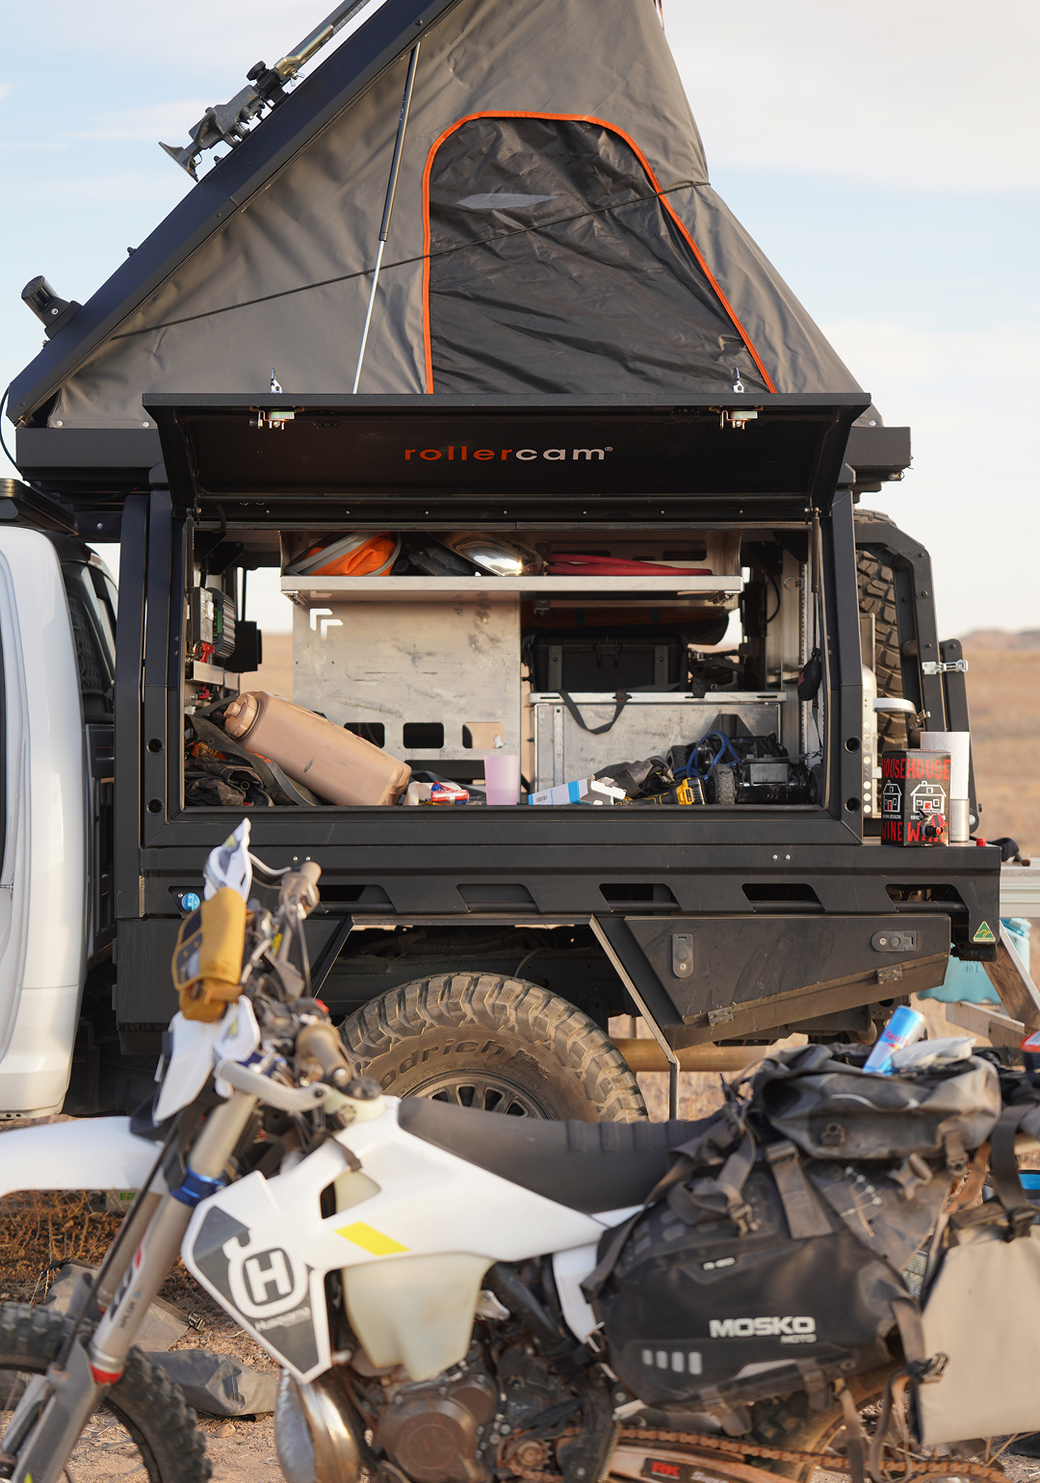
Gear Setup
Everything had to live on the bike:
- Frame bag: snacks, batteries, tools, first aid
- Panniers: split between sleep kit and kitchen/food
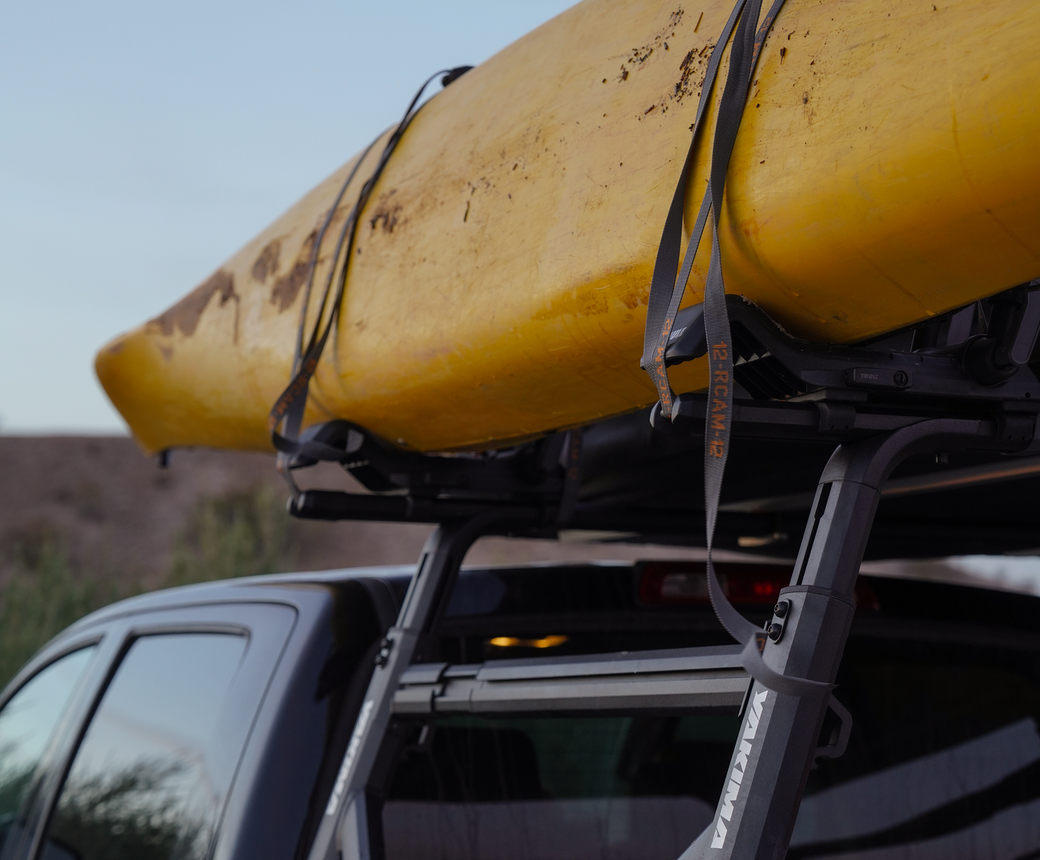
- Front rack: packraft + paddle, strapped tight
- Rear rack: drysuit, PFD, loose gear in a roll-top
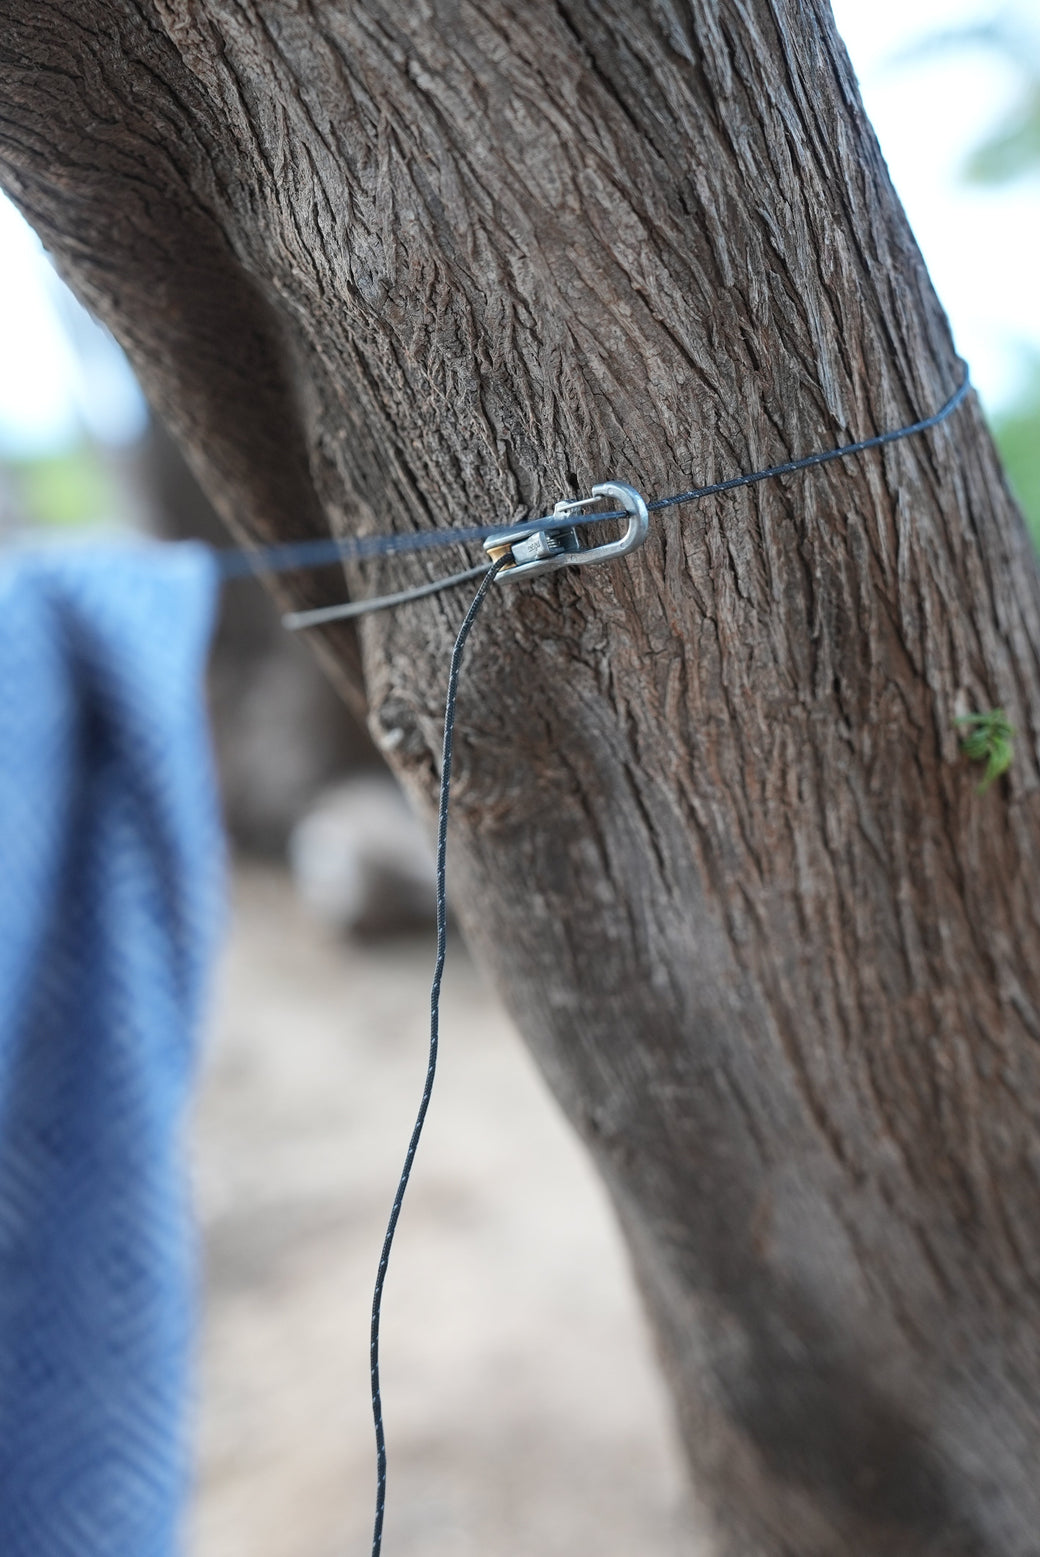
Straps did most of the work here. Boats aren’t shaped for bikes, and bikes aren’t shaped for boats, so getting things tight and stable matters more than anything else. Once it’s locked in, you stop thinking about it.
We aimed light, but not too light... a few comfort items always sneak in.

The Ride
The Lower Deschutes trail is about as friendly as it gets:
- Wide rail-grade path
- No major climbs
- Consistent surface
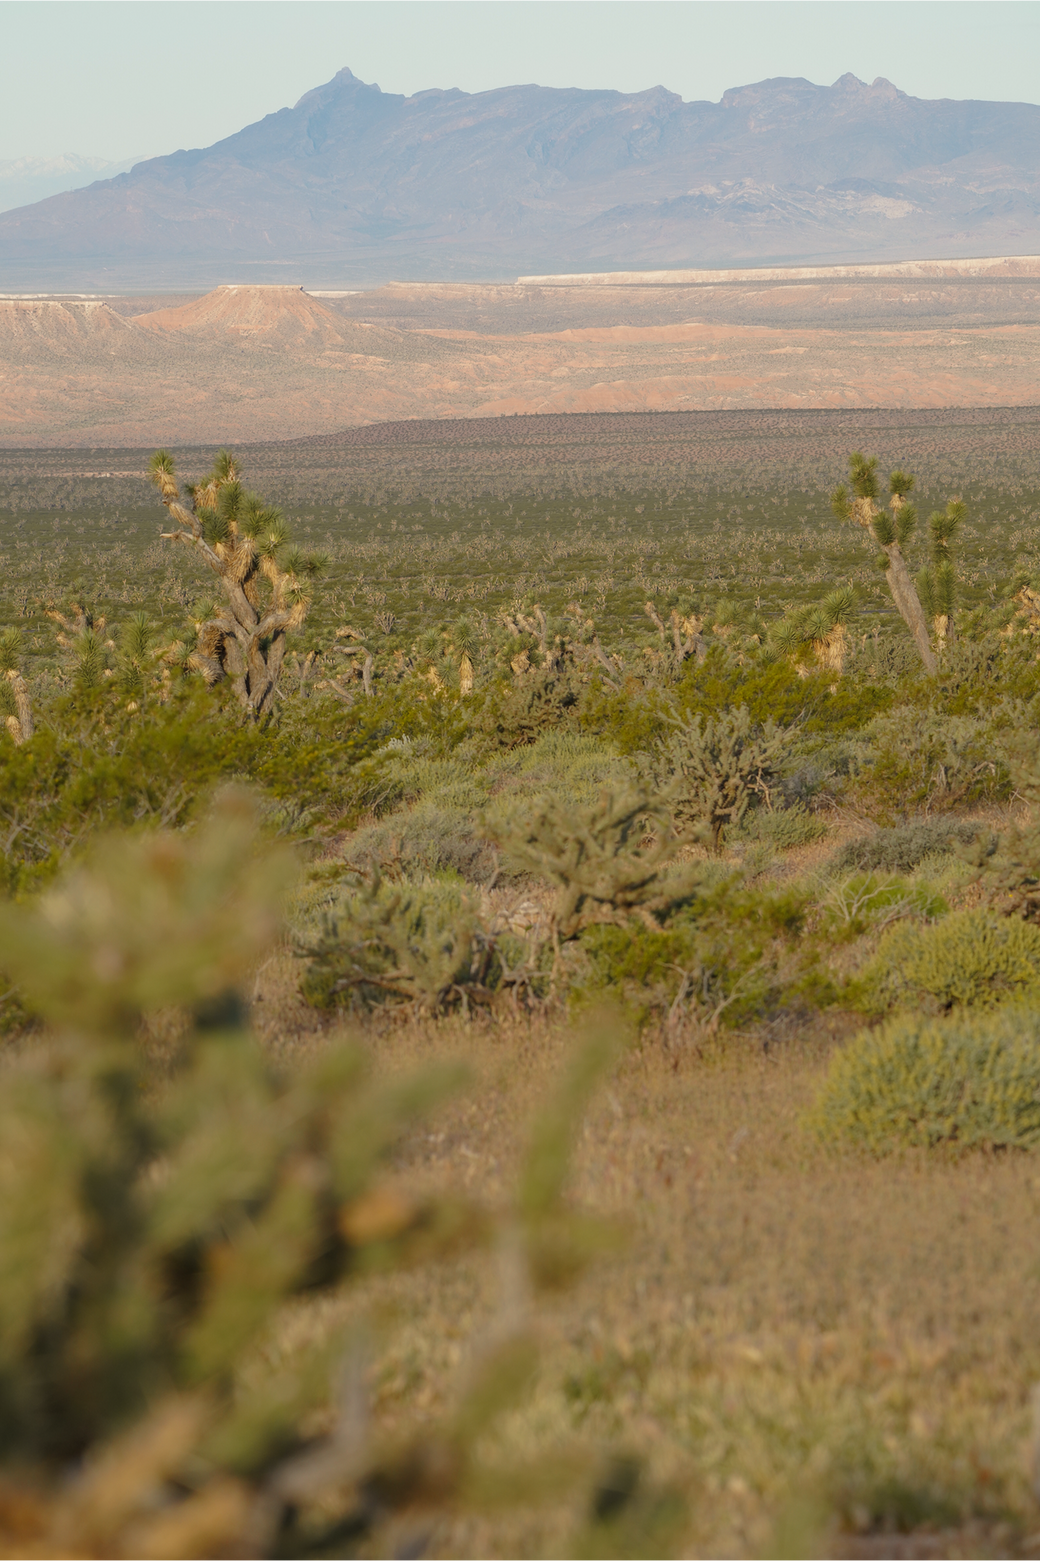
It’s fast, mellow riding with constant views of the river below.
One of the biggest advantages of this route is visibility. You’re riding right above the water, so you can scout most of the rapids as you go. Lines, obstacles, flow all right there. That makes a big difference for the next day.

Landmarks Along the Way
- Free Bridge (mile ~6.6): old crossing site, now just remnants
- Washout Rapids: visible from above, easy to read from the trail
- Bedsprings Camp (mile 8): solid backup campsite
-
We pushed past those and dropped into Fall Canyon around mile 10.
Camp at Fall Canyon
Right on the river. Flat ground. Easy access.
We unloaded in a cherry blossom grove, set up tents, and still had enough daylight to go for a joy ride up-canyon.

Back at camp we got the fire going, dinner sorted, pulled a few drinks out and settled in around the fire.
Day 2 — Rig and Float
With a cold morning we decided a slow start may be in our favor and took it slow.
Coffee first, then we shifted into rigging mode—this is where things get interesting if you’ve never strapped a bike to a boat before.
Strapping Bikes to Packrafts

A few key adjustments:
- Remove or pad pedals so they don’t rub
- Keep weight centered on the bow
- Use multiple strap points to eliminate movement
Everyone ended up with slightly different setups, but the goal is the same: tight and balanced.
Once the bikes were secured, the rest of the gear went inside the TZip of the boats, and we carried everything down to the water.
Quick sweep of camp. Nothing left behind.
The Paddle Out
The first stretch is calm— splashy water, clear current and canyon walls rising on both sides.
Then the rapids start coming in sequence:
- Washout
- Free Bridge
- Gordon Ridge
- Colorado
- Rattlesnake
- Moody
All sit in that Class II–III range. Nothing overly technical, but enough to stay engaged especially when you have that extra weight on the bow.
Having seen everything from the trail the day before takes a lot of pressure off. You’re not reacting to moment by moment decisions, you’re recognizing where the river and road will take you today.
With bikes strapped up front, handling changes:
- Slightly slower turns
- More momentum through features
But once you adjust, it feels natural.

Takeout
The biggest surprise isn’t a rapid—it’s the finish.
You round a bend and suddenly there’s a highway overhead and we’re back we were began the trip!
We pulled out river right, carried boats up, and started breaking everything down:
- Deflate
- Unstrap
- Repack

Why This Trip Works
If you’re getting into bikerafting—or even just curious—this loop is one of the easiest ways to try it.
- Flat, forgiving ride in
- Read-and-run whitewater
- Minimal logistics
- Manageable distance
You don’t need to overthink it.
If you have basic Class III comfort, a dialed strap system, and a willingness to experiment, you’re ready.
Quick Beta
Start/Finish:
Deschutes River State Recreation Area (near Biggs Junction)
Distance:
~10 miles ride + ~10 miles paddle (flexible); you can find the map here. Be sure to grab the river guidebook and to have all safety precautions communicated with your group.
Permits:
Boater pass required year-round, which can be found here at rec.gov. An additional $10/ per vehicle was required for the parking.
Best Season:
Spring and fall for temps and conditions
Water Notes:
Bring your own drinking water or treat carefully. We loved the Grayl for group water purification.
Bike Choice:
Gravel or hardtail works best, we all rode Primos Bicycles a fantastic small brother-owned business out of Porland, Oregon.
River Flow:
~4,000–6,000 CFS typical, you can find flows at American Whitewater.
Final Take
Bikerafting doesn’t need to be complicated. This loop keeps it simple where everything connects and each stop has a purpose:
- Ride upriver
- Camp Float back
- Once you’ve done it once, you’ll be itching to do it again!
(In fact, three days later I bikerafted the Nefertiti stretch in Green River, Utah, with my pup!)
Gear
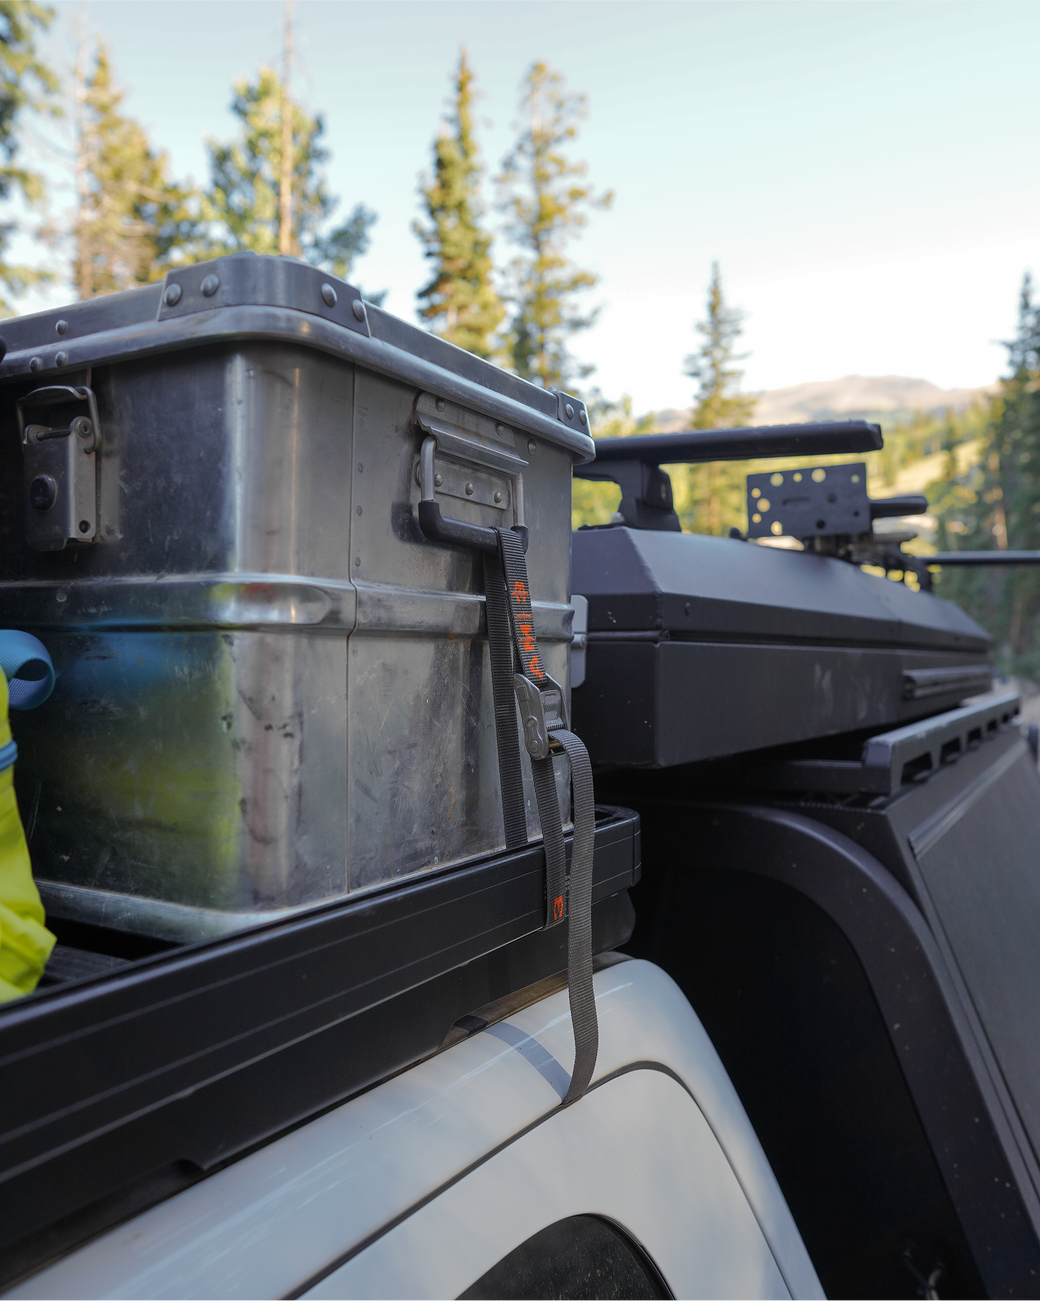
Rollercam Tiedowns: The Holy Grail strap of the trip was the 3/4” strap. The bike portion mainly utilized the 1-footer up to the 4-footer to secure bike bags, paddles, PFDs, and boats. These were easily transferrable to the paddling portion.
Packrafts: We used Kokopelli Nirvana Spraydecks and Nirvana Self Bailers. Spraydecks were great for Fischer and Tristan who appreciated the barrier to keep water out of the boat to stay warm. However, the self-bailers were more comfortable for Lou and I who preferred an easy exit if we flipped.
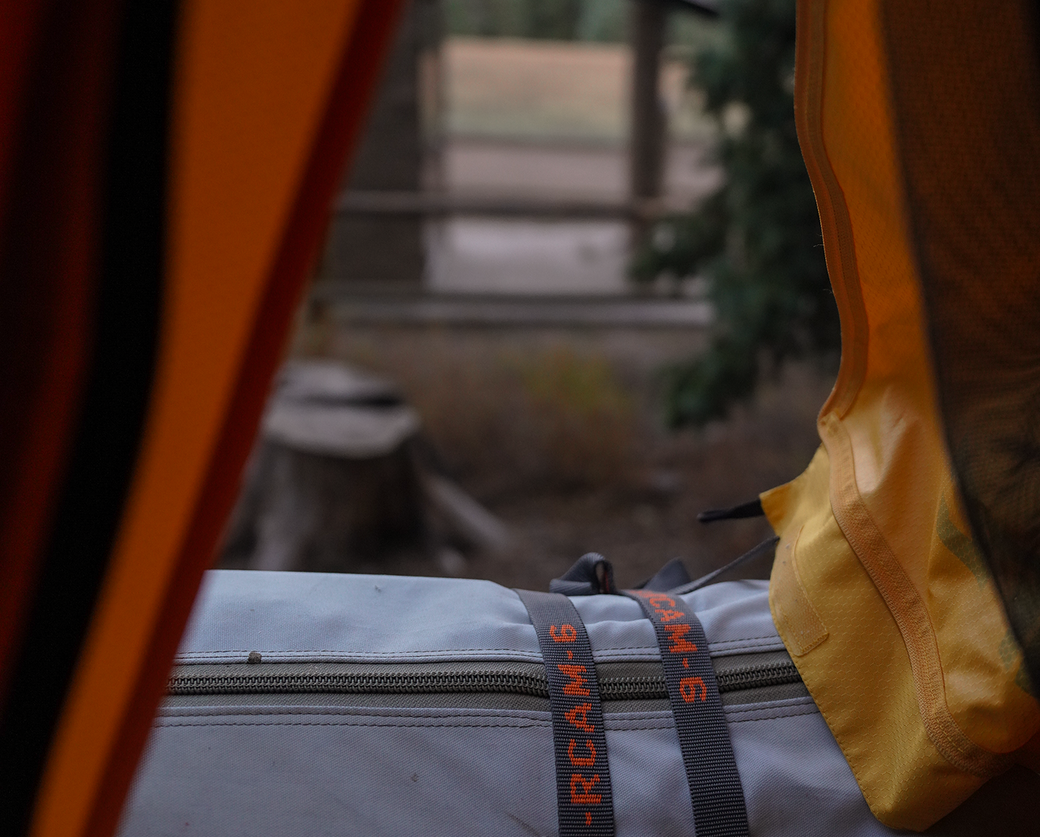
Bikepacking Bags: Fish-Ski Designs supported the trip with frame bags, panniers, and all the bells and whistles you could hope for. The bags held up perfectly for the water portion since they were placed in th T-Zip of the boats.