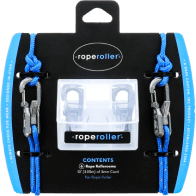
Whether you’re setting out for a weekend float or gearing up for a full river expedition, how you rig your raft matters. Dialing in your setup means more than just staying organized—it’s about security, safety, and ease of use when it counts. And when the river gets rowdy, the right tie-down system makes all the difference.
Here’s how to rig the ultimate raft with help from the crew at Utah Whitewater Gear, using Rollercam® cam straps and hardware built to perform under pressure.
Step 1: Perimeter Line Lockdown
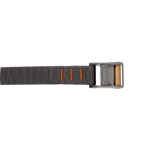
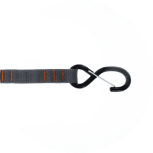
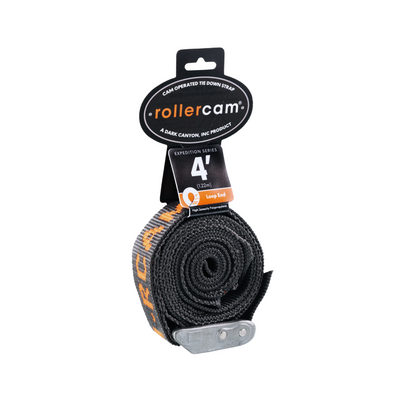
Start by securing your perimeter line. Use Rollercam® cam straps for a fast, clean, and dependable setup that won’t slip when soaked or under strain. Our patented roller design helps you pull tight with ease—and stay that way all day.
Step 2: Lock in the Frame
Your frame is the backbone of your raft. Use a looped Rollercam® strap around the frame and cockpit, then cinch it down tight. The low-profile cam keeps everything flush, clean, and out of the way, so you can move confidently and row freely.
Step 3: Mount the Spare Oar Holster
Quick access matters. Mount a spare oar holster along the side of the raft where you can reach it mid-run. Rollercam® straps give you that secure hold without overcomplicating the setup. Just loop, pull, and lock it in.
Step 4: Build Out the Bays
For serious trips, you’ll want a four-bay system. We recommend setting up with:
-
Drop bag + cargo floor
-
Dry boxes
-
Rocket box sling
-
Nesting table
With Rollercam® straps in the mix, you get the strength to secure heavy gear and the finesse to fine-tune tension quickly, so nothing bounces, bangs, or shifts downstream.
